The vast majority of people spend time interacting with a mouse and Keyboard while operating, playing games, or just surfing the Internet. Wear and tear are expected because of this. The Keyboard is most affected by all the peripherals and frequently touched by the fingertips. To remove any residue that might be on the board underneath, it can be useful sometimes to clean the Keyboard. Whether it is dust, food, hair, or other debris, removing these things could prolong the life of your Keyboard. Hence, knowing how to remove keyboard keycaps is very important.
Fortunately, sweeping up and returning your Keyboard to a shiny new state is reasonably straightforward. The most accessible approach is to remove the keycaps, expose all the dirt and grime below and clean it properly. In this post, we will be talking about some helpful tips to remove keycaps on your keyboard so you can have it cleaned properly. But before that, we need to know what keyboard keycaps are, the types of keyboard keys, why you should remove your keyboard keycaps, and how to remove the keycaps.
So what are keyboard keycaps?

While the significant and essential part of a computer is the Keyboard, it is like an electric typewriter that uses a modern pushbutton structure known as keys. These keys help to enter commands into your device as your computer. The Keyboard also executes other tasks using the buttons, aside from typing.
A selection of special characters, digits, and letters are etched or written on the keyboard keys. Pressing a key leads to a single written symbol, shown on the screen of your computer. However, there are keys for particular tasks, and concurrently pressing specific keys will cause the system to execute device commands.
Reasons why you need to remove mechanical Keyboard Keycaps.
It’s essential to keep the keyboard keycaps in tip-top condition. Stuck dirt that you left unclean may be one of the triggers of a laptop keyboard that doesn’t function. That’s why you should make sure you disinfect your keyboard daily.
Occasionally, you can wipe the keyboard keycaps to ensure that they are free from debris or something that can impair their functionality. Often, replacing them is an efficient way of cleaning the board and the switches underneath. Cleaning the keyboard guarantees that the output continues at the optimal level and prolongs the keyboard’s life.
Detaching the keycaps is the most efficient way of cleaning the board and the switches below. You will often see compressed air being used to clear up the debris. Sadly, this would only eliminate a fraction of the dirt below while driving the remainder further into the Keyboard and beneath the switches. Removing the caps and using a cotton swab, or anything similar, to clean the board directly is a superior process.
Cleaning the caps themselves will also prolong the life and functionality of your Keyboard. This is particularly beneficial if you have white or light-colored keycaps, as dirt and grime will quickly build up and darken your appearance. The use of a mild soap-based cleaning agent and a cotton swab or Q-Tip can assist with the caps’ cleaning process. Be cautious to avoid rough cleaning materials since they may strip the exterior printing on the keycaps.
Tools to remove mechanical keyboard keys
There are several tools you could use to help remove keycaps, as listed below.
I) Keycap Pullers

Keycap pullers are tools intended to allow people to remove keycaps. They are for eliminating keycaps and holding the Keyboard and keycaps intact. Some electronic keyboards come with a key puller. However, if you don’t have a key puller, you can buy one
II) Household objects
There are a few household objects that you can use to detach keycaps from your Keyboard. Generally, any small flat item that can pass under the keycap’s edge would get enough force to turn the key off. These household items may include but are not limited to:
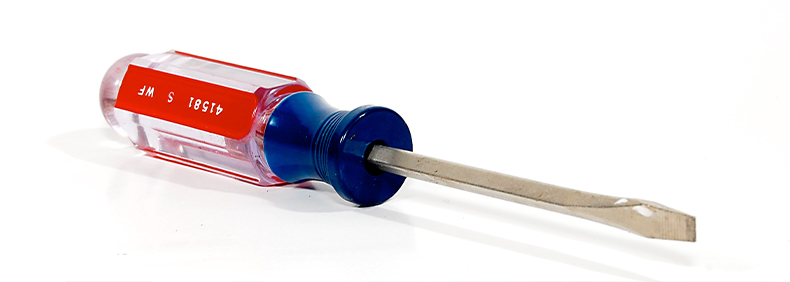
- Flat Head Screwdriver

- Butter Knife

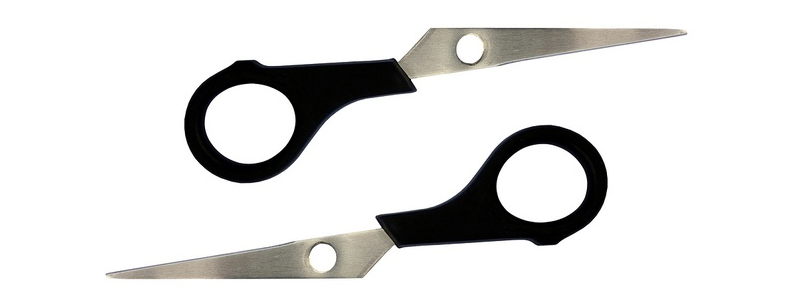
- Blade from a Pair of Scissors

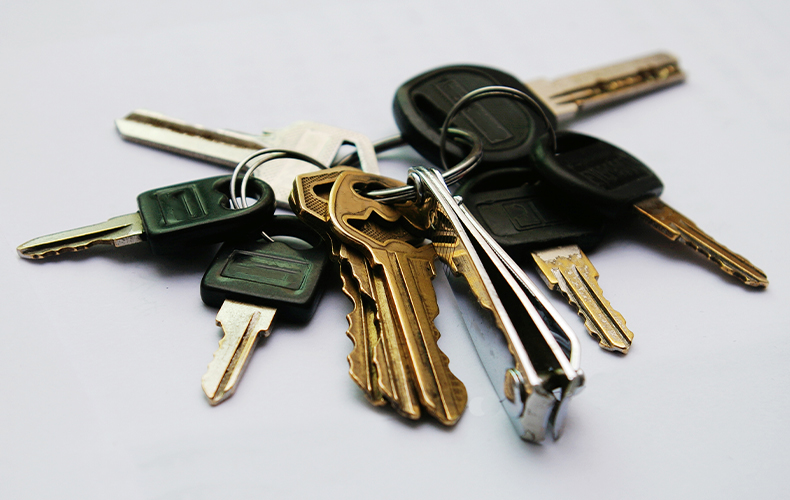
- House or Car Key

However, while taking the flat side of these objects, you can put the tip under the corner of your keycap. Slowly add the pressure before the cap continues to take the switch off. As these objects could be used, they also have some disadvantages. While an object like a knife can fit under a keycap, you run the risk of cutting or scratching the cap (or probably yourself) in the process. If you have an older keyboard, this might not be a big issue, so it’s better to use a specialized tool for more costly boards.
Step by step guide to removing Keyboard keys on your mechanical Keyboard.
Having getting tools required, you can now start removing the keycaps from your mechanical Keyboard by following the steps below:
- Pick your keycap puller.
- Place the edges of the puller under the keycap that you choose to remove.
- Push the puller to detach the keycap from the switch.
- If your Keyboard has backlight LED lighting, you need to be super cautious when removing keycaps.
- If you plug in and turn on the input device when you remove keycaps, the lights can trigger your eyes, so you need to turn off and unplug the device.
- Be sure that when you remove the keycaps, you position them in a location that is conveniently accessible and in order. By doing that, you’re not going to have a hard time reassembling them.
- Be extra cautious about removing larger keys as they could have a metal support bar that may be bent during the process.
- Try to make sure you remove all the keycaps slowly and cautiously so that you don’t damage any component of the Keyboard.
Helpful tips to take note of why removing your keyboard keycaps.
While attempting to break down the Keyboard, there are several things to keep in mind during the process:
Remove keycaps carefully.
Although you can feel the need to pull your caps as soon as possible due to a large number of keycaps, it’s necessary to take the time to remove keyboard keycaps. Scratching or cracking a keycap can be a devastating error, either by making you buy a new set of caps or by coping with a chipped keycap.
You can also damage the key switch itself, and that would be an even direr outcome. If you use your Keyboard regularly, finding a non-functioning key will make your Keyboard obsolete. While replacing the switches, it’s a hazard well worth avoiding.
Reassembly of the Keyboard.
Once the Keyboard has returned to a shiny new state, replacing the switches and keycaps is the final step. Reference the keyboard configuration while reapplying the keys to prevent errors while simultaneously speeding up the reassembly method. Remember to add the keycaps softly to avoid breaking the turn below. The easiest way to achieve this will be to line up the keycap and just press it down with a regular keystroke before it is connected. If you’ve taken all the measures correctly, the Keyboard will maintain its new look. Repeat this procedure every couple of months or as required, and you will significantly prolong the life of your Keyboard.
Conclusion.
As there are a lot of tips you can read from the Internet. However, it is not only information that is important to remove keyboard keycaps, but also the proper procedure. In other words, there are several options available that can be useful throughout the process, but you do need to be extra cautious.


